Superficial Cervical Plexus Block POD

That’s right. Time to talk about my favorite nerve block.

The SCPB

This block is 

quick

and

easy

.

It makes

IJ central lines

painless procedures

.

It also provides excellent analgesia for

clavicle fractures

,

ear lobe lacerations

,

blind subclavian lines

, or

anything within this quadrilateral

:

boundries.jpg

How to do it

Find the

posterior aspect of the sternocleidomastoid (SCM) muscle

.

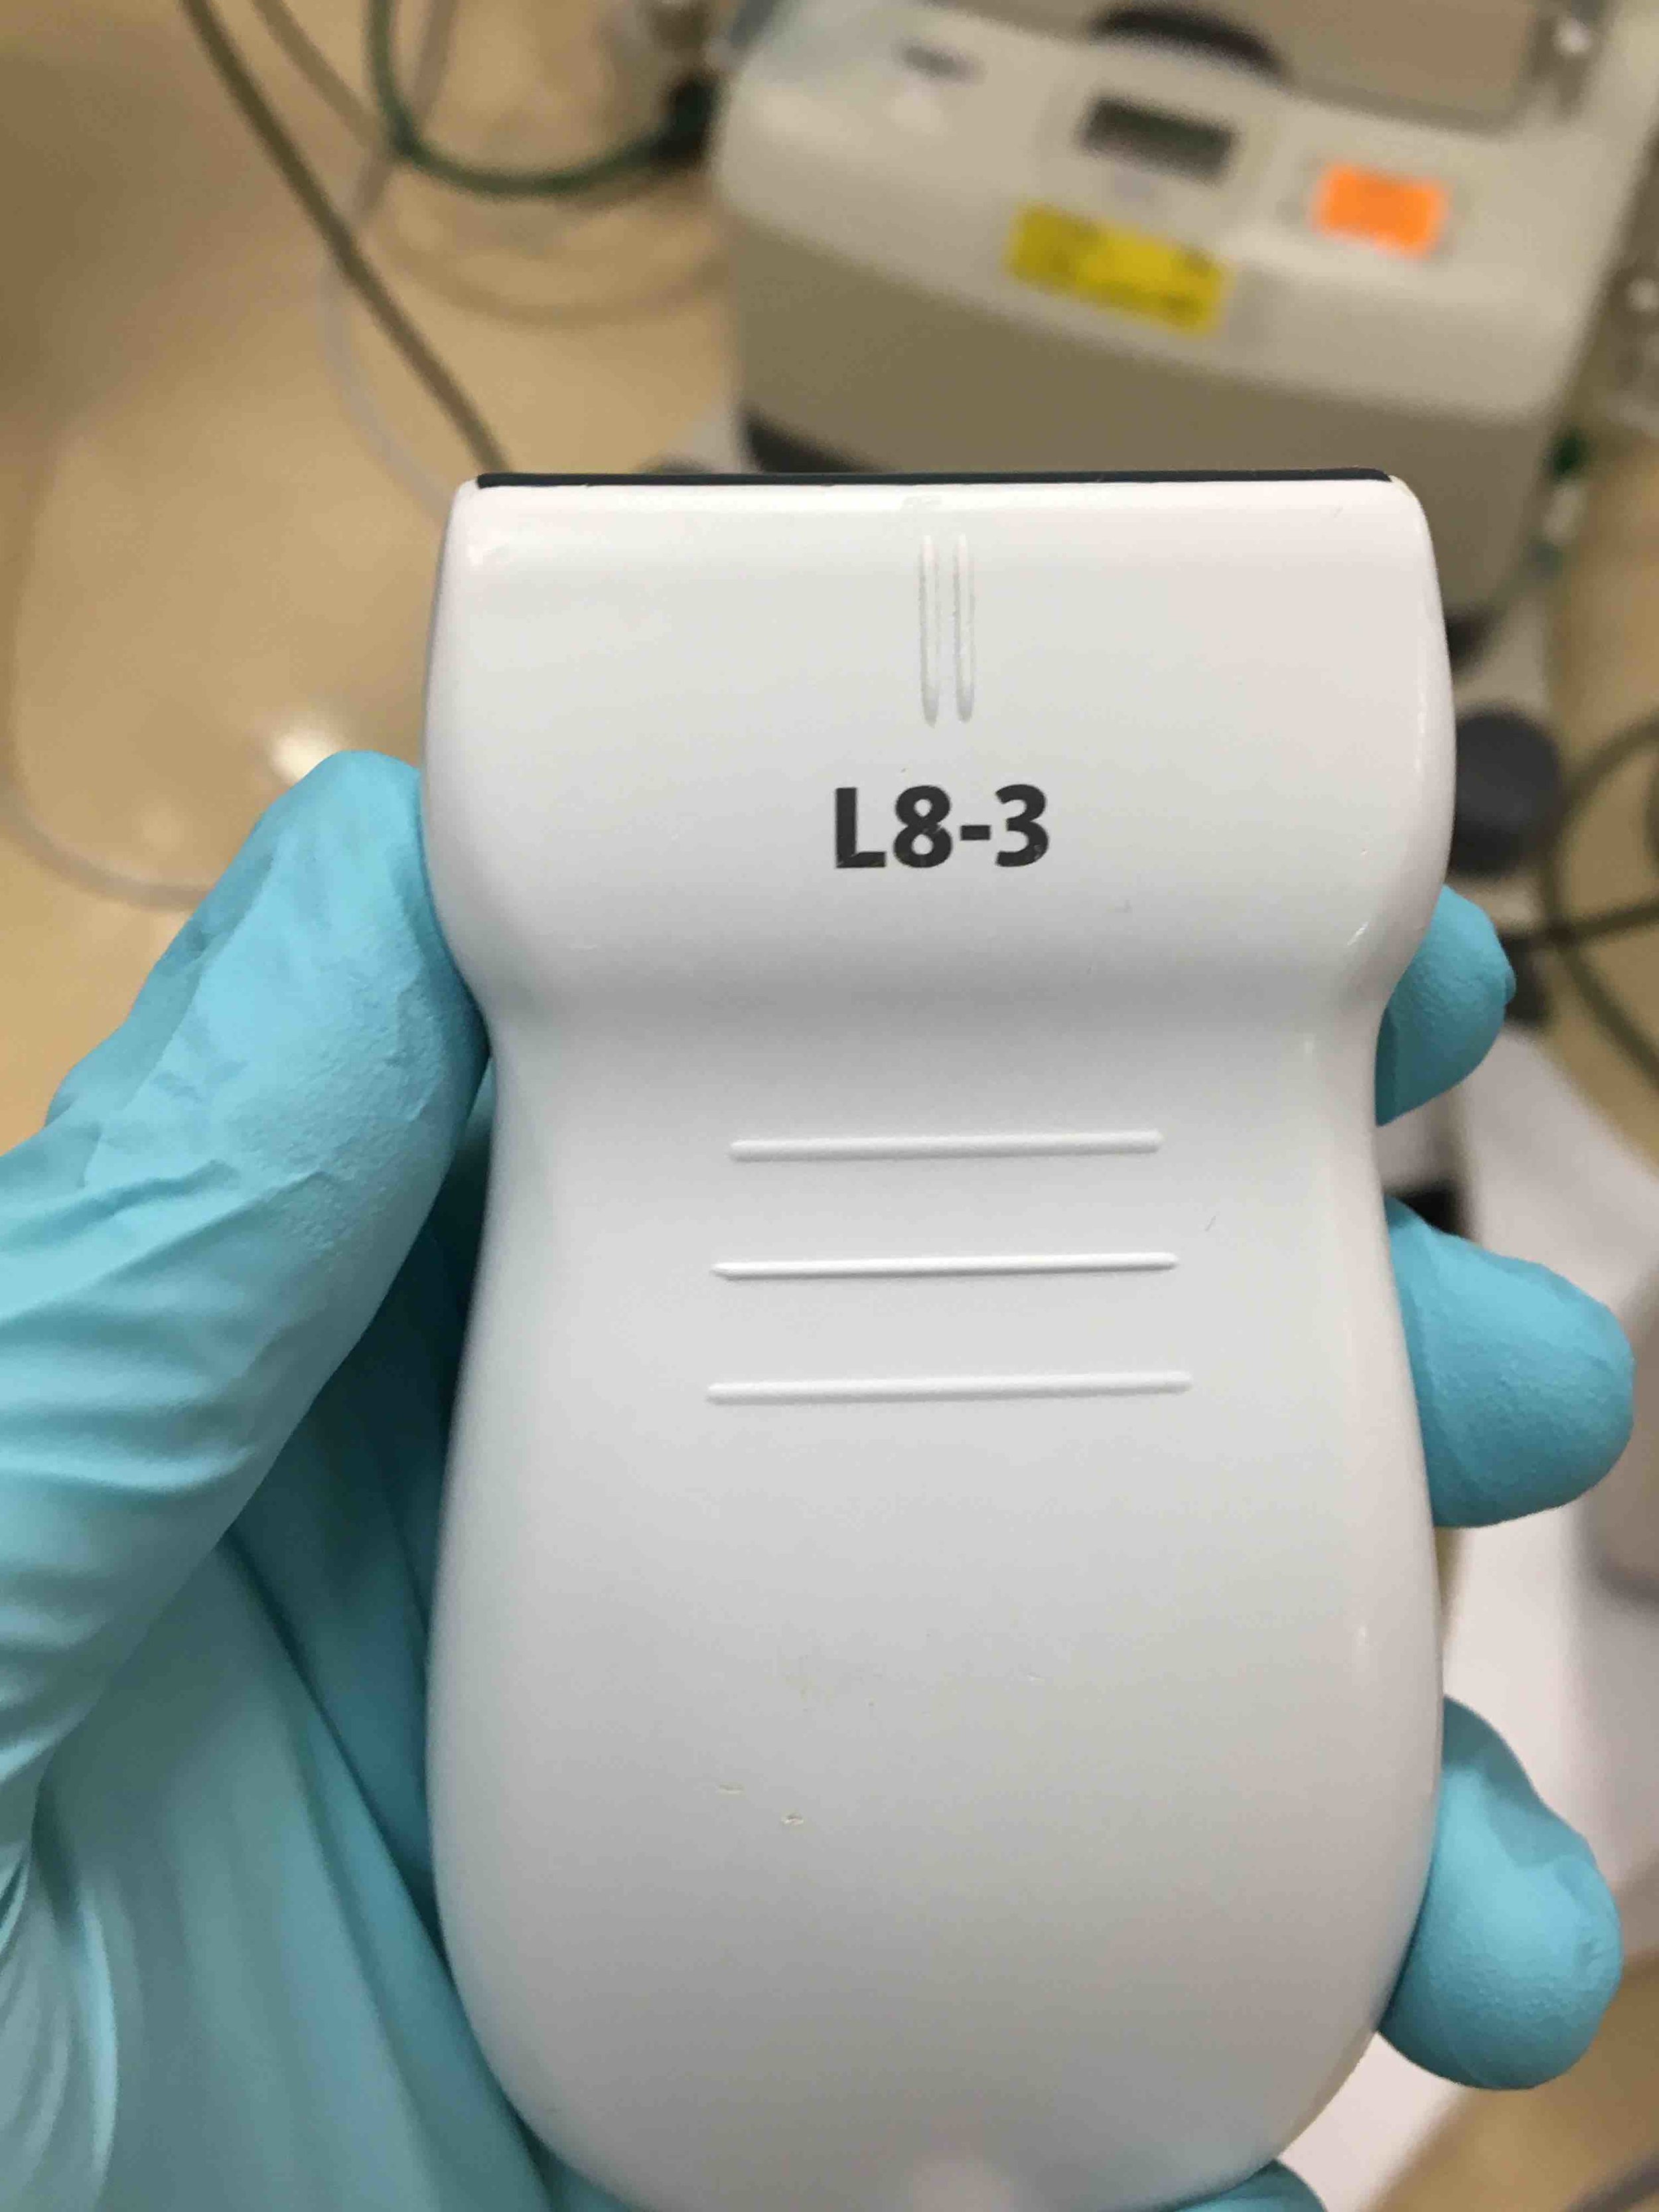
Position the probe half way down the SCM as you measure it from mastoid process to clavicle.

About at the level of the superior aspect of the thyroid cartilage, also about where the EJ crosses over the sternocleidomastoid.

land-marks-jpeg.jpg
with-probe-jpeg.png

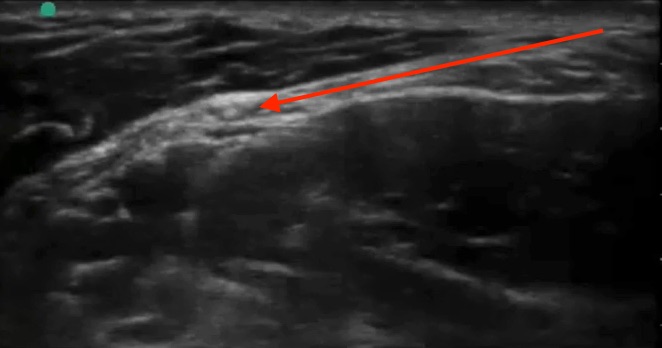
The fascial plane under the posterior aspect of the sternocleidomastoid muscle is your target.

just-sono-arrow.jpg

Like other

plane blocks

 you are not targeting any one nerve in particular. By infiltrating this tissue plane, you get the superficial plexus as it peeks out from behind the SCM at this level:

PastedGraphic-2.tiff

Inject 5-10 cc of local anesthetic.

Ensure it is spreading in the plane like this.

1.jpg
2.jpg
3.jpg

Safety:

  • As with all ultrasound guided nerve blocks, visualize your needle tip always, especially prior to injection.

  • When you begin injecting, inject one mL only to ensure you see it spreading in the fascial plane. Then inject the rest.

  • Withdraw before you inject if there is even a slight possibility you are close to a vessel

  • Throw some color on your site to ensure you identify any vessels.

  • In general this is a very well tolerated and forgiving block.

  • The incidence of phrenic nerve involvement is extremely low with SCPB, far lower than with the interscalene block. Phrenic nerve involvement will be avoided if ensure you don’t go too deep - a few cm, or about half way down the deep edge of the SCM. Going deeper than this results in a deep cervical plexus block which will result in some motor and sensory blockade of the arm.

  • Horner’s syndrome is a rare and self-limiting complication.

  • The amount of local anesthetic used in this block is nowhere near close to toxic levels, so local anesthetic systemic toxicity will not occur as long as you manage to avoid the IJ and carotid.

Tips and troubleshooting

  • For a central line, you can set up, gown, drape, and set up your ultrasound like usual, then use the 5 cc lidocaine which come in the central line kit for your block. Place the block first, then flush your line/lay out your equipment, and your patient will likely be completely numb by the time you’re ready to start your line placement.

  • The other option is to place your block while you’re doing your pre-scan. This way you can use 5-10 cc, but you have to get it out of the Pyxis. Just clean the probe and the skin with a chlorhexidine swab and use sterile gel.

  • If it’s your first time doing a block, consider doing it as a 2 person block. Use some IV extender tubing and have another provider operate the syringe for you. I like slightly longer tubing than typical IV tubing, e.g. the one below. At Maimo, you can find it in the stock room between North and South sides, top shelf straight ahead when you first walk in.

  • Can't visualize your needle? Make sure your ultrasound probe is directly above it and in-line with it. Next, make sure it is as close to parallel to the surface of the probe/perpendicular to the ultrasound beams as possible. If you are approaching a 45 degree angle, your needle will be close to invisible. At close to a 0 degree angle, it will shine like a laser beam.

  • You can use the 27 gauge needles to make it more comfortable but they are a little harder to see.

Further reading and references:

http://highlandultrasound.com/superficial-cervical-plexus-block/

 - Highland crushes nerve block education with their website and their SCPB page is no exception

https://www.ultrasoundpodcast.com/2015/03/superficial-cervical-plexus-block-with-bedsidesono-trust-us-this-is-really-awesome-foamed/

 - Mike and Matt of ultrasound podcast also did an amazing episode on this where many of the images in this tutorial are from

https://www.nysora.com/cervical-plexus-block

 -

Another good resource

 · 

Visualize the Vessel: Jonas Pologe's Guide to US-Guided PIV Placement

Ultrasound-Guided PIV: Tricks of the Trade

That’s right, time to talk about one of my favorite topics ever: the ultrasound-guided PIV!

These are tricks of the trade that I have picked up from our amazing ultrasound faculty at Maimonides as well as concepts I have learned based on trial and error. I hope this guide provides some short-cuts to ultrasound-guided PIV expertise to newer trainees!

Procedure:

Scan the area with a tourniquet up to identify your best candidate vein. Look for the largest, most superficial, and most distal. It should ideally be greater than 3mm in diameter.

Visualize the trajectory of your vessel in both short axis and long axis.

short-axis-2.jpg
long-axis-sm.jpg

Probe marker should be to YOUR left (the same side as the “Z” indicator at the top of the screen). That way when you move your needle left or right, it will go the same direction on the screen.

As you scan, note nerves and arteries which must be avoided.

short-axis-1.jpg
short-axis.jpg

The patient/extremity should be positioned such that the vessel is straight, and the probe as upright as possible on the patient’s arm.

Prep with chlorhexidine, prep the probe as well or cover the probe with a tegaderm, use sterile gel (“surgilube”).

Get your angiocath ready. Your go-to is a long 20 gauge. If it’s superficial and big and you are already confident in your PIV skills, you may consider placing a short 18, especially if needed for a CT angio. We don’t stock long 18s at this time but may stock them again in the future; these were an excellent option for larger but deeper vessels.

Find the vessel again in short axis at the point you have chosen to cannulate.

Press the Bx button to drop a guide line down the center of your screen. Position the vessel right in the center of that line.

keyboard-sm.jpg
short-with-bx.jpg

This center line corresponds to the center of the probe:

notched-probe.jpg

The “0” on the probe with no notch on it is the center of the probe.

unnotched-probe.jpg

Note how deep the vessel is by looking at the hash marks at the R side of the screen. My vessel above is  about 0.75 cm down.

Now keep the probe still and look back at the patient’s arm.

Y

ou know exactly where the vessel is. Right under the center of your probe. You know its trajectory as well. VISUALIZE IT COURSING UNDER THE SKIN. That’s where your angiocath will go.

Now you are ready to enter the skin with your angiocath. Glance up at the screen one more time to make sure your vessel is still perfectly centered on your guide line. Look down at the arm and visualize the vessel again. Enter the skin a little ways back from your probe at a 30-45 degree angle. You know how long your angiocath since you’re looking at it and exactly where the vessel is since you are visualizing it. Using this information,

advance the needle with the aim of positioning your needle tip just over the vessel

, right at the vessel wall. As you do this,

look back up at the screen and you should see your needle tip coming into view

.

Confirm that you’re really seeing the needle tip

: Move the probe back (away from the direction of your needle) and watch the needle tip disappear; move it back toward the needle and watch it come into view again. Do this whenever you have any doubt that you’re actually looking at the tip.

Adjust left/right as needed so that your needle tip is perfectly above the vessel.

Enter the vessel by advancing downward a millimeter.

Sometimes a tiny “jab” will help get through the vessel wall.

Confirm that you’re looking at needle tip again.

You may have flash at this point but don’t look for it; it does not matter.

Drop the angle of your needle at this poin

t. The patient should be positioned so you can effectively drop the angle (arm should be straight if using AC fossa).

drop-angle.jpg

Then

advance the probe and needle sequentially millimeter by millimeter

: Advance the probe (needle disappears on the screen), advance the needle (needle tip reappears on the screen), advance the probe again (needle disappears on the screen), advance the needle again (needle tip reappears on the screen), etc.

The needle tip should be centered in the vessel prior to each advancement.

This is demonstrated beautifully by Dr. Cameron Kyle-Sidell in this 4-minute video.

https://emin5.com/2016/04/24/ultrasound-guided-iv-placement/

Once you have “walked” the needle tip into the vessel 5mm or more, keep the needle perfectly still, take the probe off the patient and put it down. Now with your non-dominant hand free, reach over and gently advance the angiocath over the needle while keeping the needle still with your dominant hand. It should advance smoothly.

————

A few last teaching points:

  • Practice this skill on a model whenever you have a chance.

  • Use the trick of dropping the Bx line, noting depth, and visualizing the vessel under the skin before starting a central line; if you are good at it with PIVs, you will find this part of central line placement extremely easy.

  • Needle tip visualization is more difficult with deeper vessels and at steeper needle angles.

  • If you are more than 1cm deep and have lost your needle tip, you may find it by switching to long axis

  • Practice the microskill of “twisting” on a vessel in order to convert your short axis to a long axis view; practice this on your own radial artery as often as possible until it becomes second nature.

  • You can do the entire procedure in long axis. This is a very powerful technique, especially for deeper vessels, but is technically more challenging and requires more practice.

  • Use regular 22-gauge angiocaths with the “hockey stick” probe for babies and toddlers. If you are comfortable with this by the time you rotate on PICU, they will love you forever.

  • An US-guided a-line is essentially the same procedure as an US-guided PIV.

Jonas Pologe, PGY3, Emergency Medicine, Maimonides Medical Center

 ·