Hi everyone,
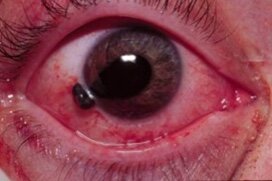
For today's POTD, I want to highlight a topic that still gives me the heebie jeebies when it arrives in our ED: trauma to the eye. Even if you get the most comprehensive history and have asked all the right questions, for a traumatic eye injury, it really comes down to...what's the physical exam? Your standard physical exam with a penlight, though important, can only get you so far, so you'll need a few extra tools in your tool belt to perform a complete assessment of these patients.
I'll walk through the 5 main additional tests to include in your eye trauma physical exam, the indications for each, where the supplies can be found in the MMC ED, and how to perform them.
1) Visual Acuity Testing
What's the indication? Any eye complaint, honestly. It seems so elementary, but it really is a core part of our eye exam.
Where is it at? The Snellen chart is often used in the ED to quickly assess and document visual acuity. A Snellen chart can be found hanging on the back wall in Fast Track for ambulatory patients that you can walk over. For those patients who are non-ambulatory or simply can't get out of the South Side stretcher tetris game that day, use a pocket Snellen chart (I bought one cheap on Amazon) or use a phone app (MDCalc saves the day, once again) so that you can test at bedside.
How do I use it? I think most of us have used the Snellen chart, but here's a quick refresher. Have the patient stand a distance away from chart, with the distance usually indicated by the chart you're using. If you're at bedside and using a portable Snellen chart, a good way to approximate 4-6ft from the patient is to use the length of the stretcher. Cover one eye and test the lowest line they can read entirely correctly, cover the other eye and test the same, done. If your patient just completely fails the Snellen testing or can't participate in the exam, you can advance to Counting Fingers (CF) testing, then Hand Motion (HM) testing, then Light Perception (LP) testing and document your findings.
2) pH Testing
What's the indication? Exposures to chemicals/caustic agents. Aka weird liquid to the eye earns itself a pH strip.
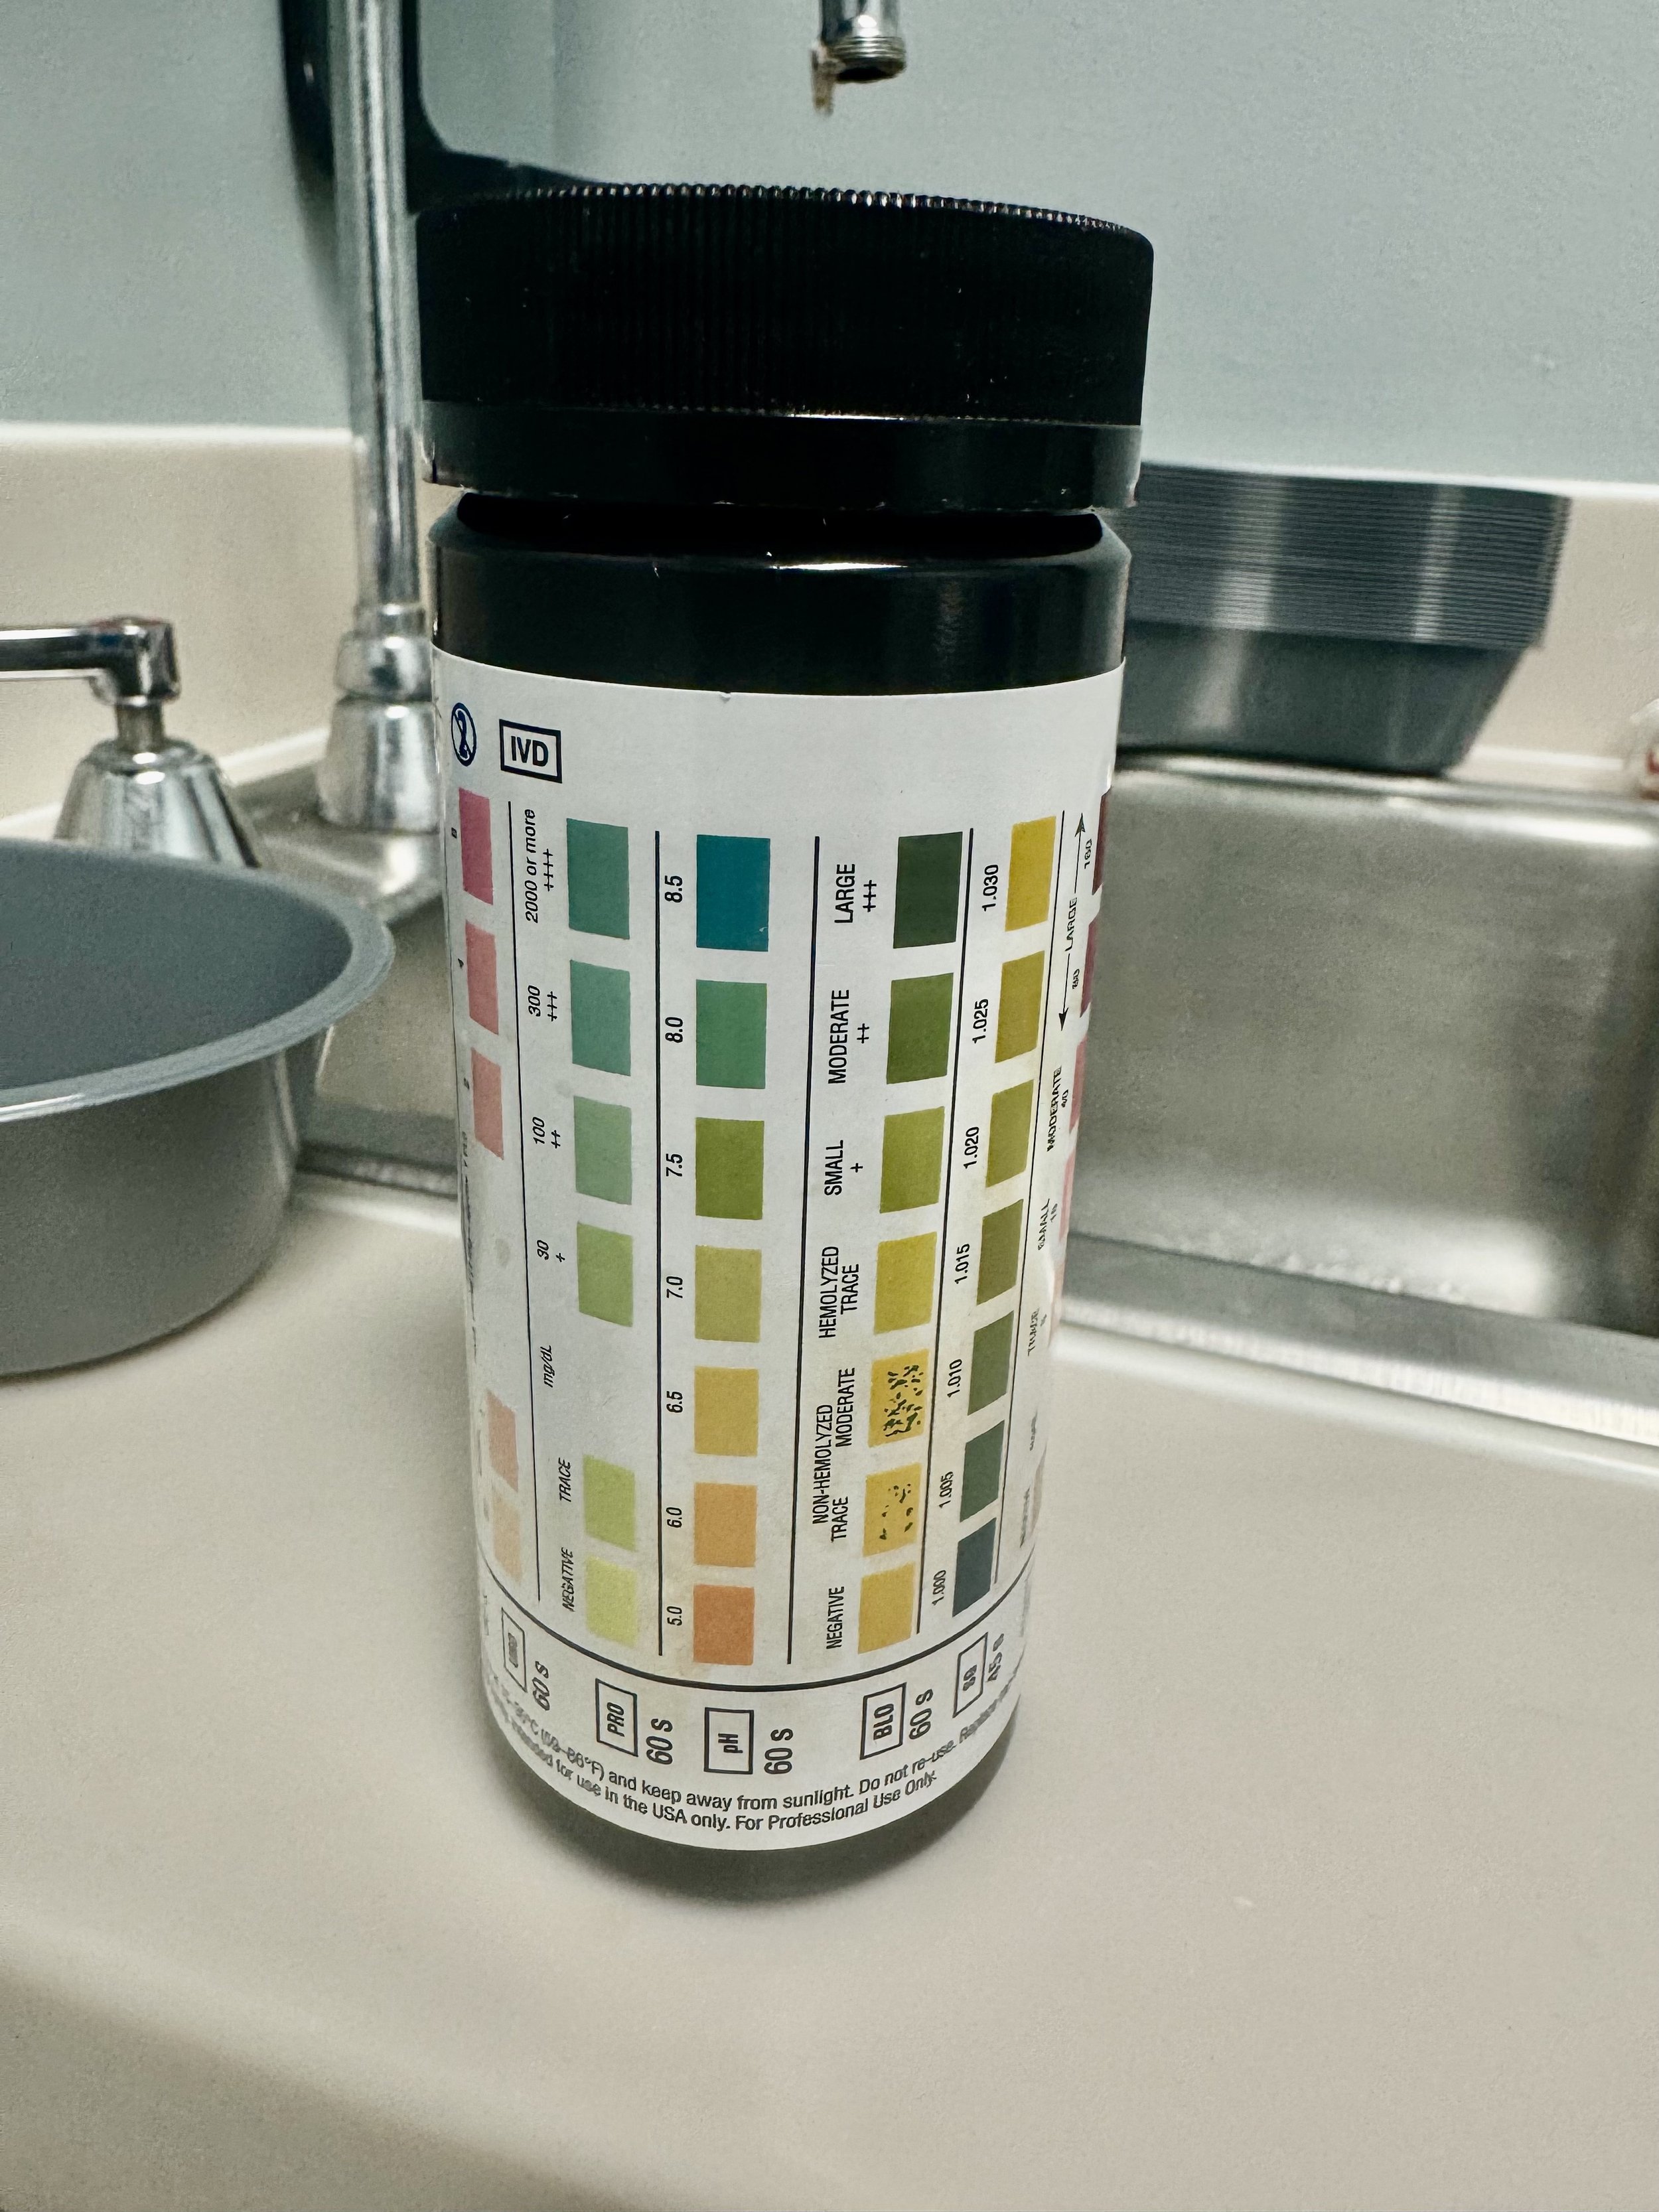
Where is it at? This is the golden question. Sometimes there are dedicated ocular pH strips laying around either with charge, in Fast Track, or in peds. I personally couldn't find any on my hunt, so the solution is to use urine dipsticks, which can be found in peds. But order some anesthetic drops while you look.
How do I use it? First place 2 drops of anesthetic eye drops like tetracaine in your patient's eye, then wait about 5-10 mins so that your results aren't biased by the pH of the eye drops. While you're waiting and if you are using the urine dipsticks, cut the dipstick so that the pH box is the last box (seen below). Then tap the dipstick in the fornix of the eye, the little crevice between the lower eyelid and the eyeball. You can alternatively tap the dipstick to the eye directly, but be careful of the sharp edges where you cut the dipstick and make sure the eye is fully numb beforehand. Compare the pH color to the reference on the packaging; we are looking for a goal of pH 7.0. If you are anywhere off that, try irrigating with a morgan lens and sterile fluid and retest until you reach 7.0. Just know that urine dipstick pH range is only from 5-8.5.
3) Fluorescein Testing
What's the indication? Most any trauma to the cornea. Specifically evaluates for corneal abrasion, corneal perforation, corneal foreign body, epithelial keratitis, and HSV keratitis.
Where is it at? The strips for fluorescein stain testing are in the Fast Track cabinet labeled "Ophthalmology Supplies" on the far left. The Woods lamp can be found in the same cabinet in Fast Track or the doc box cabinet in peds. Order anesthetic drops while you search for the light.
How do I use it? Like the pH testing, first place 2 drops of anesthetic eye drops in your patient's eye. Drop a couple drops of a saline flush or additional anesthetic onto the fluorescein strip to saturate the strip, enough so that the liquid is about to drip off the orange end of the strip. Retract the lower eyelid and swipe the strip along the inner eyelid conjunctiva, not on the eye itself. Have the patient blink a few times to distribute the fluorescein across the whole eye, and then look with either cobalt blue light or UV light for any uptake of the fluorescein. Wherever you see uptake is where the cornea has been broken, as aqueous humor is exposed and has taken up the fluorescein dye. For the light, you can use the Woods lamp in Fast Track or peds, the Slit Lamp in Fast Track, or you can buy your own UV light pen on Amazon. Try to make sure not to get any fluorescein anywhere but the eye... it stains.
4) Slit Lamp Exam
What's the indication? Most any trauma to the eye, beyond even the cornea. Can be used as a light source for the fluorescein testing for corneal injuries and foreign bodies, but also evaluates for hyphema, anterior uveitis/traumatic iritis, and other non-traumatic anterior segment pathology.
Where is it? The slip lamp has permanent residence in Fast Track.
How do I use it? Get your patient seated with their chin in the chin holder and their forehead pressed forward into the forehead band. Turn down the lights in the examination room. Then set up your slip lamp, which is objectively tricky for first-time users as there's a lot of knobs and bulbs and buttons and screws. What I would focus on is putting one hand on the joystick at the base of the unit, which will change where the light beam is, and the other hand on one of the beam width knobs that juts out to either side near the middle of the unit, which will change how big your beam is. With your joystick, direct your light at an oblique 45 degree angle into the eye so as to not annoy your patient with direct bright light. And with your beam width knob, start with a wide light beam. Go slow and methodically through the exam, focusing on each layer (lids, conjunctiva, sclera, cornea, anterior chamber, iris, pupil, lens) and checking for pathology. Once you find pathology, then turn your beam width knob to make more of a thin slit (hence the name), which will provide a more detailed view of the pathology.
5) Tonopen Testing
What's the indication? Severe trauma to the eye, warranting concern for increased intraocular pressure. However, tonopen testing is contraindicated if there is concern for globe rupture, so be sure to first check for any signs suggestive of globe injury: eccentric pupil, extrusion of vitreous, obvious wound, seidel's sign, etc. Utilize the prior modalities (fluorescein testing, slit lamp testing) if you need better clarification of any globe injury.
Where is it? The tonopen is fiercely guarded in the South Side charge nurse filing cabinet in a blue case (seen below).
How do I use it? Patiently; ours is frustratingly finicky. But the lovely Dr. Kat Pattee provided amazing instructions in her own POTD on how to use it that I have followed myself and will share here. First, put a protective covering over the transducer. Calibrate the tonopen by holding the button down for 5 seconds, listen to 5 beeps, and then check that the display reads "dn" (meaning "down"). Proceed to turn the tonopen with the transducer pointed down toward the floor, hold steady for around 15 seconds, and wait until the display now reads "UP." Swiftly and smoothly flip the tonopen so that the transducer is pointing directly up at the ceiling, and the display should now read "pass." If the display instead reads "fail," try to calibrate all over again. Position the transducer perpendicular to the patient's pupil, press the button once, it will beep, and you should see displaced a series of dashes indicating it is ready. Very gently tap the cornea 10 times until it gives an average of the IOPs measured with each tap; the larger number is the IOP, the smaller number is the confidence interval. Repeat everything after the calibration steps at least 3 times and take the average of those numbers as your IOP. Do all this for the healthy eye first, and then repeat for the affected eye. Our goal for normal IOP is < 20.
Happy eyeballs,
Kelsey
Resources:
- https://www.ebmedicine.net/topics/heent/abnormal-vision/calculators
- https://www.aliem.com/trick-of-the-trade-eye-ph/
- https://www.emrap.org/episode/eyephtest/eyephtest
- https://www.emrap.org/episode/fluorescein/fluorescein
- https://www.ncbi.nlm.nih.gov/books/NBK555957/
- https://eyewiki.org/Slit_Lamp_Examination
- https://geekymedics.com/slit-lamp-examination-osce-guide/
- Dr. Kat Pattee POTD from 5/20/2024


